Tutorial 1 - Deploy sample code
This is a quick tutorial to deploy a "Hello World" dapp to the Internet Computer (IC) in 10 minutes or less. Deployment of the dapp only requires basic knowledge of using a terminal.
Before starting, take a look at a version of this dapp running on-chain: https://6lqbm-ryaaa-aaaai-qibsa-cai.icp0.io/
In this tutorial, you will learn how to:
- Install the Canister SDK
- Build and deploy a dapp locally
- Collect free cycles to power your dapp
- Create a "cycles wallet" from which you can transfer cycles to any other dapps you want to power
- Deploy a dapp on-chain
This simple Hello dapp is composed of two canister smart contracts (one for backend and one for frontend). The dapp accepts a text argument as input and returns a greeting. For example, if you call the greet method with the text argument Everyone on the command-line via the canister SDK (see instructions below on how to install the canister SDK), the dapp will return Hello, Everyone! either in your terminal:
$ dfx canister call hello_backend greet Everyone
$ "Hello, Everyone"
Or via the dapp in a browser, a pop-up window will appear with the message: Hello, Everyone!
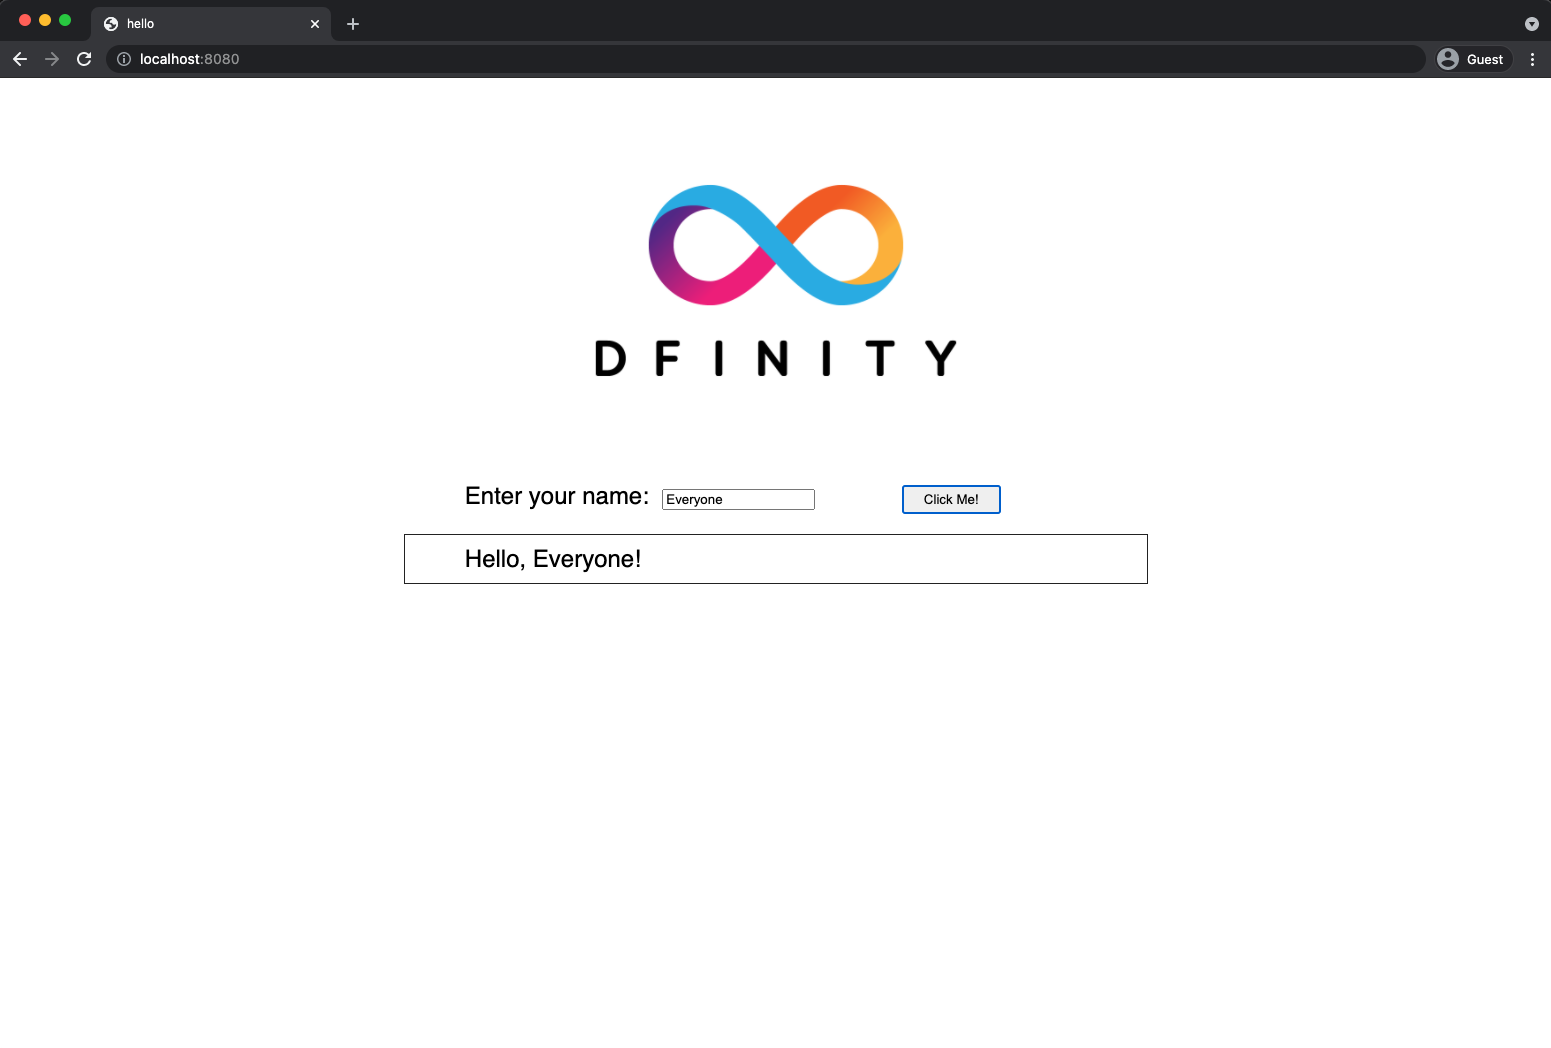
Note that the "Hello World" dapp consists of backend code written in Motoko, a programming language specifically designed for interacting with the IC, and a simple webpack-based frontend.
This tutorial requires Linux, macOS 12.* Monterey or later, or Windows with a Windows Subsystem for Linux (WSL) installation.
Topics Covered in this Tutorial
Canisters are the smart contracts installed on the IC. They contain the code to be run and a state, which is produced as a result of running the code. As is the case of the "Hello World" dapp, it is common for dapps to be composed of multiple canisters.
Cycles refer to a unit of measurement for resource consumption, typically for processing, memory, storage, and network bandwidth consumed on the IC. For the sake of this tutorial, cycles are analogous to Ethereum’s gas: cycles are needed to run dapps, but unlike gas they are stable and less expensive. Every canister has a cycles account from which the resources consumed by the canister are charged. The IC’s utility token (ICP) can be converted to cycles and transferred to a canister. ICP can always be converted to cycles using the current price of ICP measured in SDR (a basket of currencies) using the convention that one trillion cycles correspond to one SDR. Get free cycles from the cycles faucet.
A cycles wallet is a canister that holds cycles and powers up dapps.
1. Installing Tools
To build and deploy the Hello dapp, you need to install the following tools.
dfx
In this tutorial, we use a Canister SDK called dfx, which is the default SDK maintained by the DFINITY foundation.
To install dfx, run:
sh -ci "$(curl -fsSL https://internetcomputer.org/install.sh)"
To verify that dfx properly installed, run:
dfx --version
The terminal should show you the most recent version (See SDK release notes).
More installation options and instructions for uninstalling dfx are covered in Installing the SDK.
Node.js
Node.js is necessary for rendering the frontend assets and so is necessary to complete this tutorial. Note however that Node.js is not needed for canister development in general.
We support all stable versions of Node.js starting with 12. You can install 12, 14, or 16. Please note that Node 17 does not support Webpack’s api proxy tool, so npm start may not work correctly.
There are many ways of installing node.js. On Linux, we recommend using your system's package manager. On macOS, we recommend Homebrew. Alternatively, you find instructions on the nodejs.org website.
This tutorial works best with a node.js version higher than 16.*.*.
2. Create a project (1 min)
A dfx project is a set of artifacts, including source code and configuration files, that can be compiled to a canister. By running
dfx new hello
dfx creates a new project directory called hello. The terminal output should look similar to this:
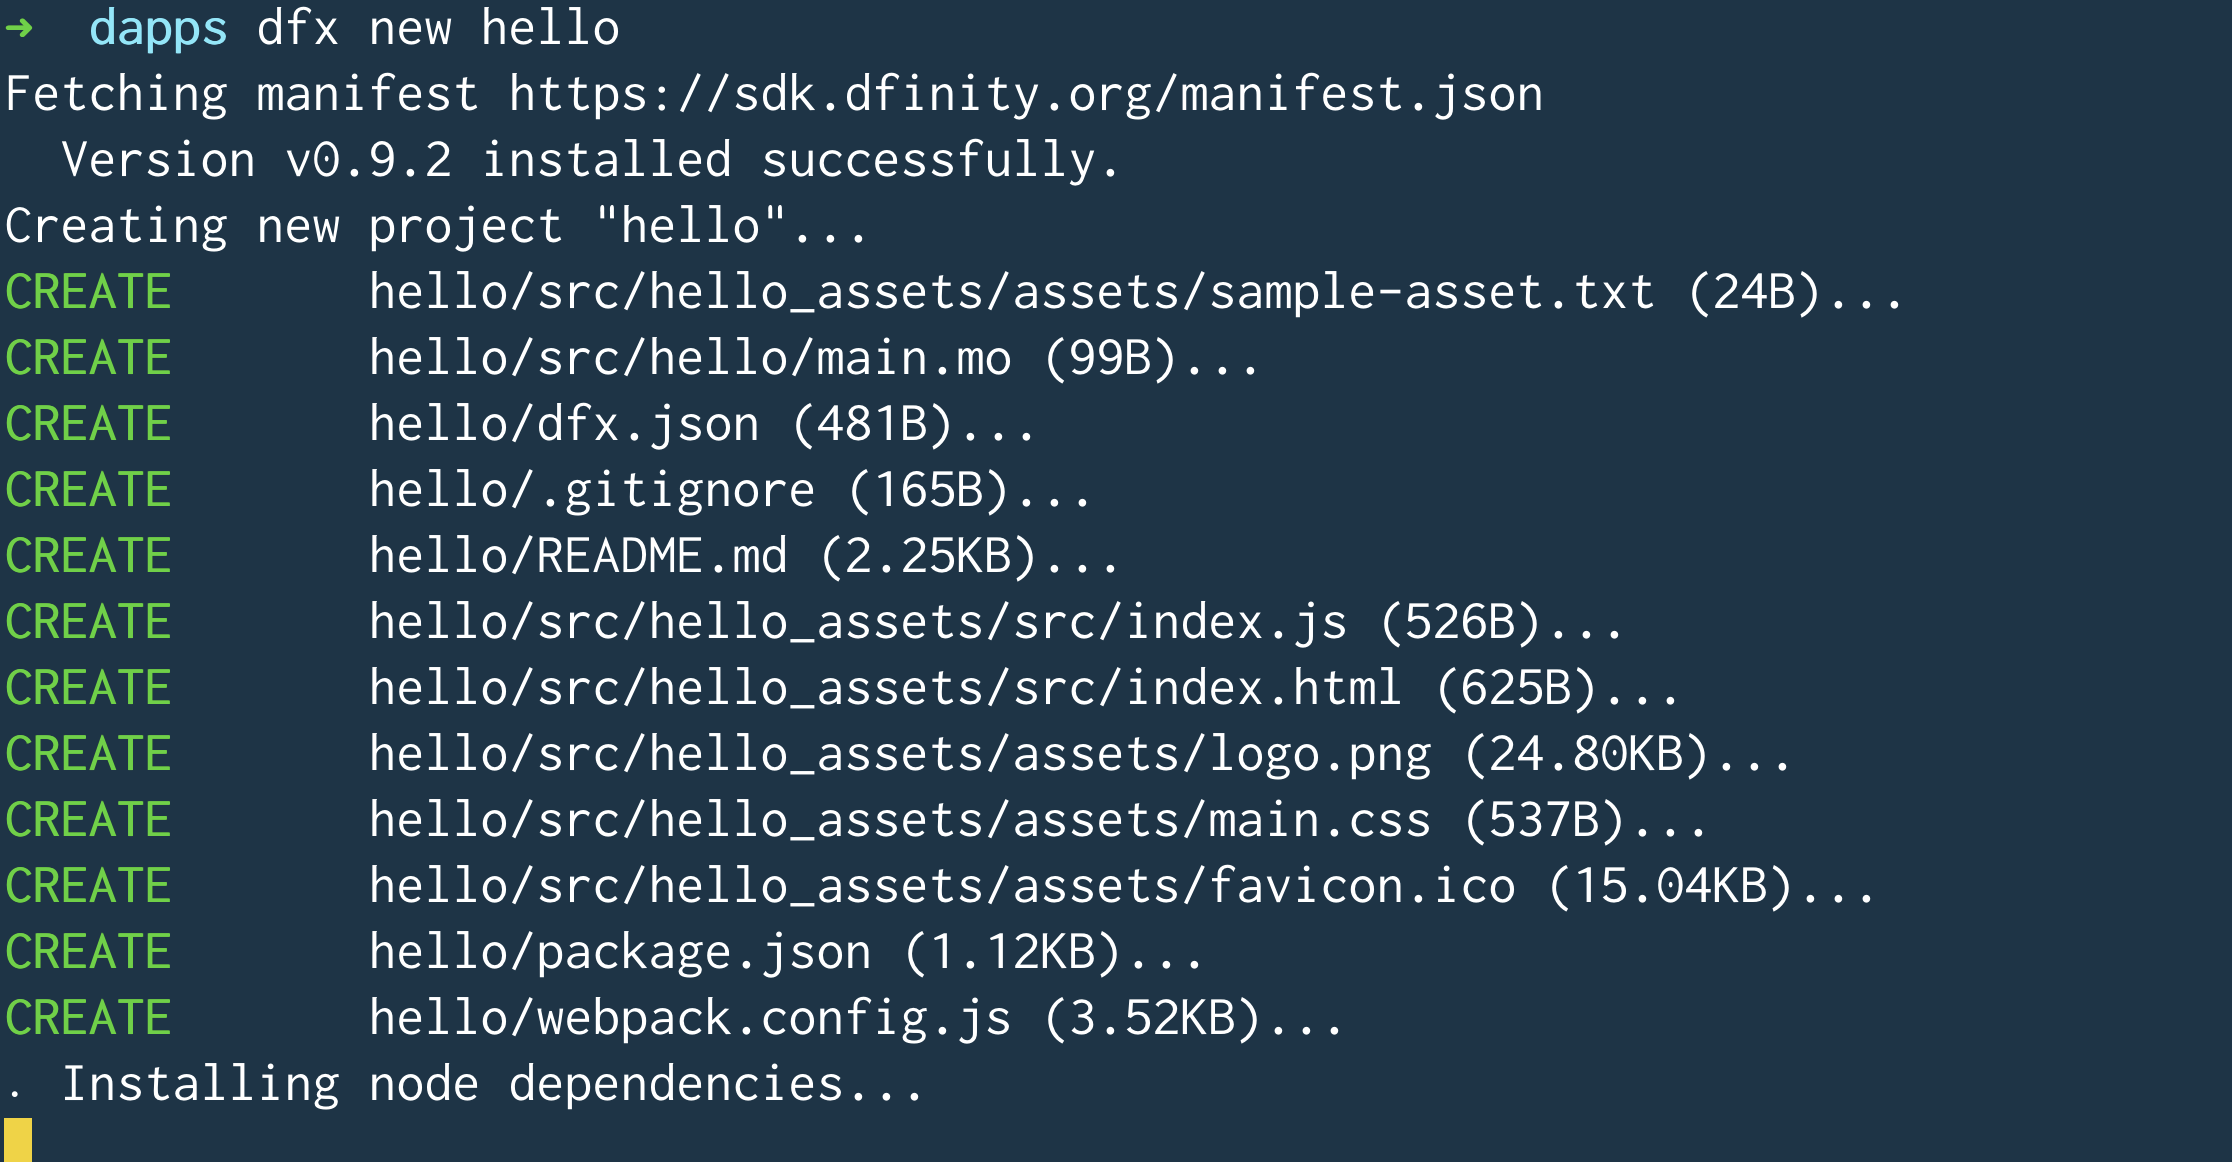
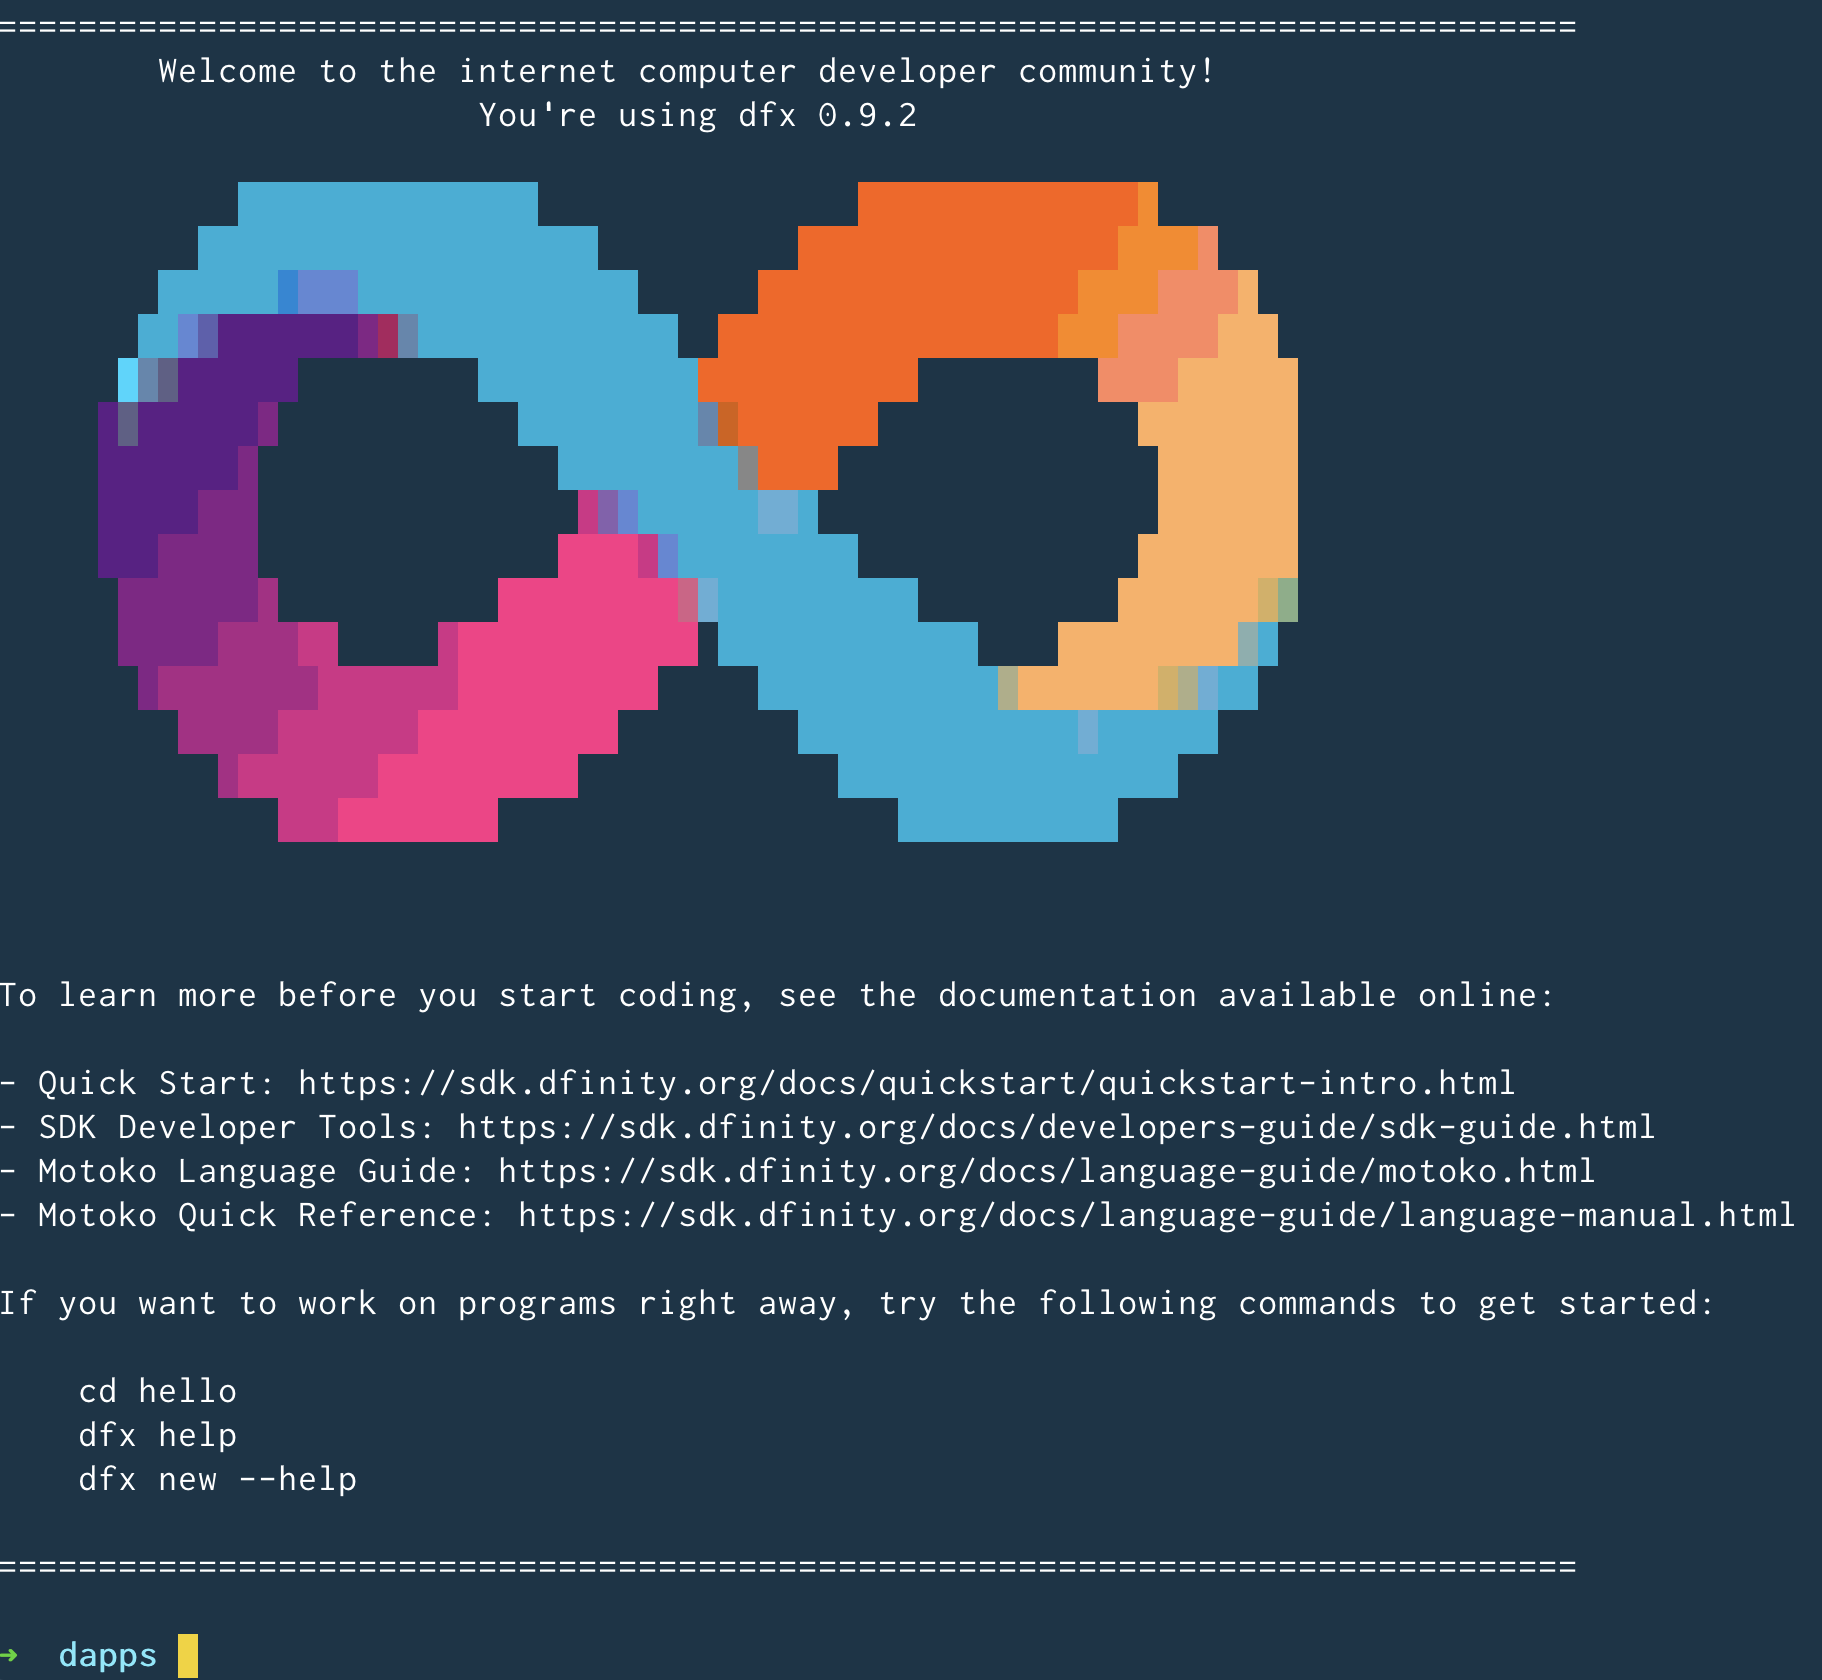
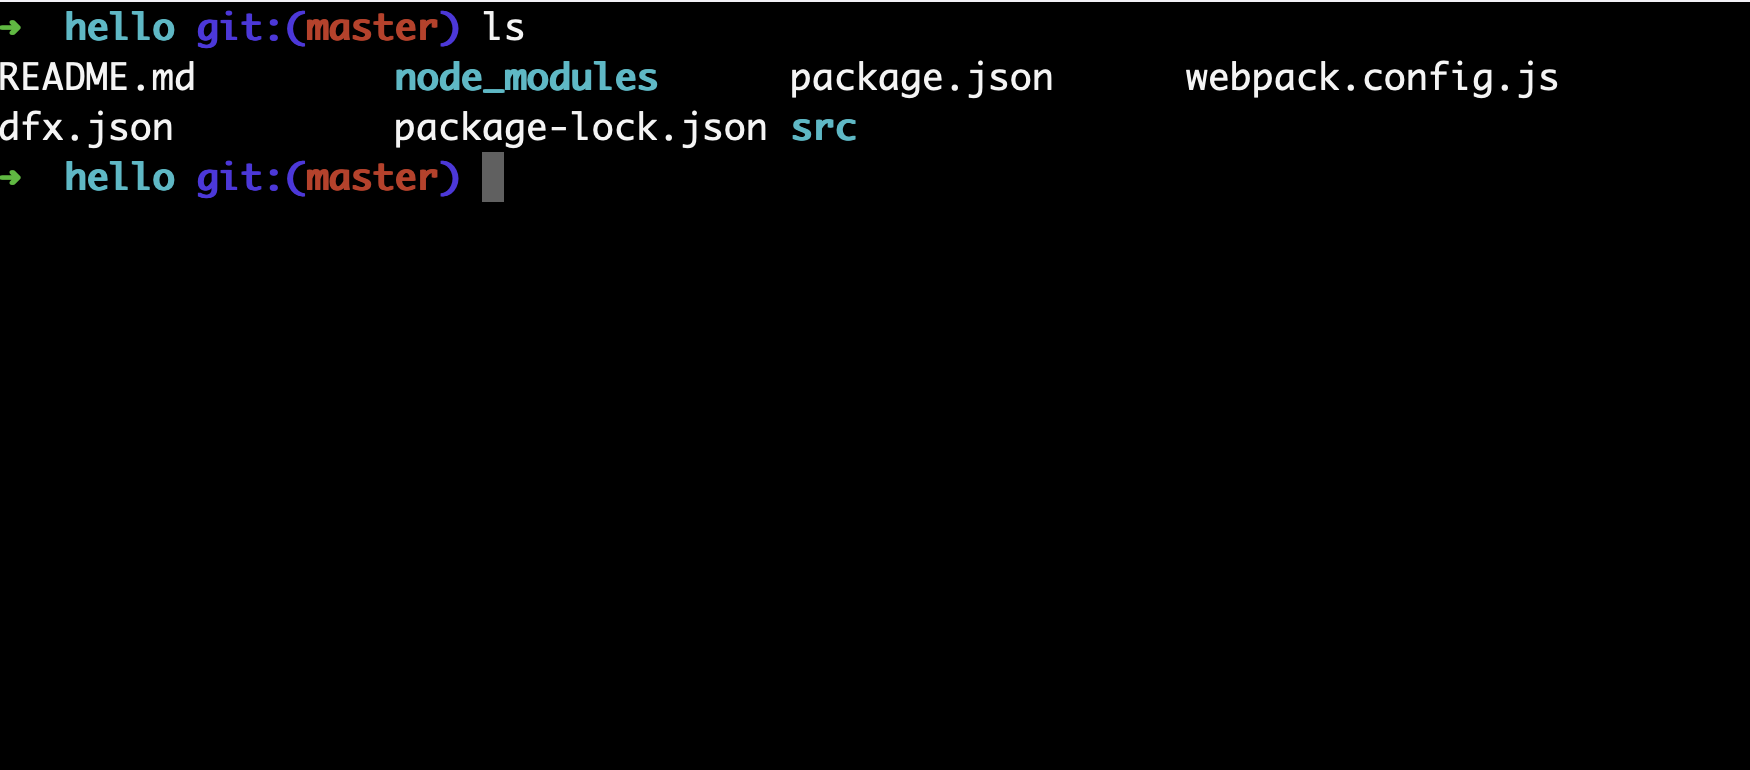
The hello project directory includes the artifacts required for a "hello world" canister and a new hello Git repository. Your directory should look like this:

The hello project is composed of two canisters:
hello_backendcanister, which contains the template backend logichello_frontendcanister, which contains the dapp assets (images, html files, etc)
You may wonder "why two canisters?" Two canisters are created to help you organize your project. It could be that assets and backend logic live in one canister, but IC developers have found that it's useful to create two canisters (one for backend and one for frontend).
3. Run your dapp locally (3 min)
Now that your hello project is created, the next step is to deploy it locally. To deploy locally, dfx can start a local instance of the execution environment. This environment is not a full IC replica, nor does it download any of the state of an IC replica. It is a lightweight environment designed exclusively for deploying dapps.
For this, we recommend using two terminals:
Terminal A shows the output of the execution environment. This is analogous to starting a local server in a Web2 project, e.g. node.js’s Express, python’s Django, or Ruby’s Rails.
Terminal B is used to interact with the canister running in the execution environment. This is analogous to sending HTTP API messages to servers running locally, e.g. Postman or Panic.
To distinguish the two terminals in this tutorial, terminal A has a dark blue background...

... and terminal B has a black background.
Start the execution environment
In terminal A, navigate to the root directory hello of our project and run
dfx start
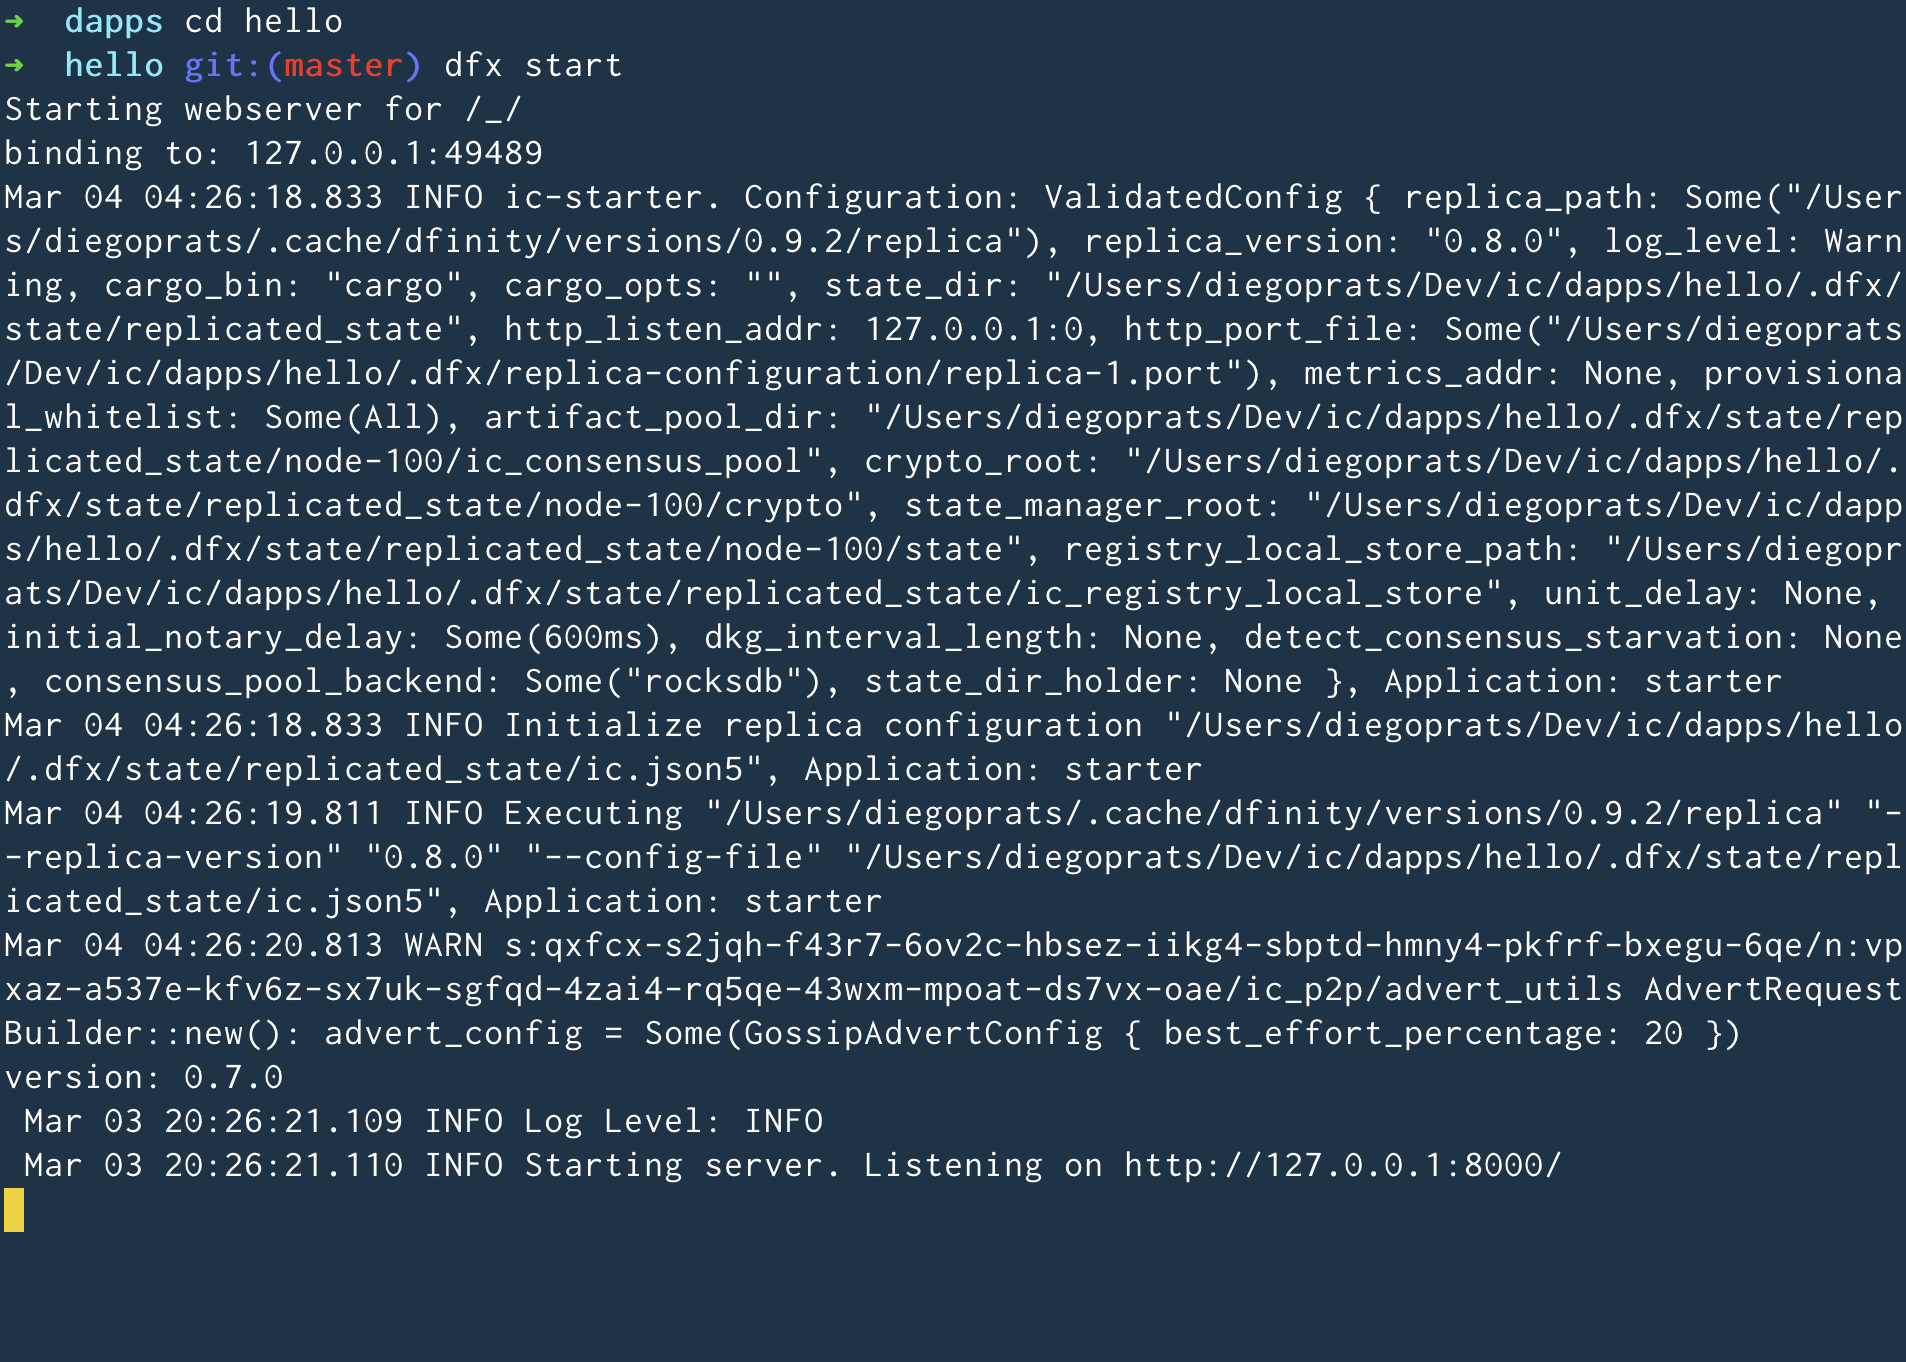
- Depending on your platform and local security settings, you might see a warning displayed. If you are prompted to allow or deny incoming network connections, click "Allow."
- Check no other network process is running that would create a port conflict on 8000.
Congratulations - there is now a local Instance of the execution environment of the IC running on your machine! Leave this window/tab open and running while you continue. If the window/tab is closed, the local instance of the execution environment of the IC will not be running and the rest of the tutorial will fail.
Deploy the dapp locally
Since this is only a canister execution environment, this deployment has fewer steps than a deployment to mainnet, which requires cycles).
In terminal B, navigate to the root directory hello of our project. Install all the necessary node modules by running
npm install

Register, build, and deploy the hello canister to the local execution environment by running
dfx deploy
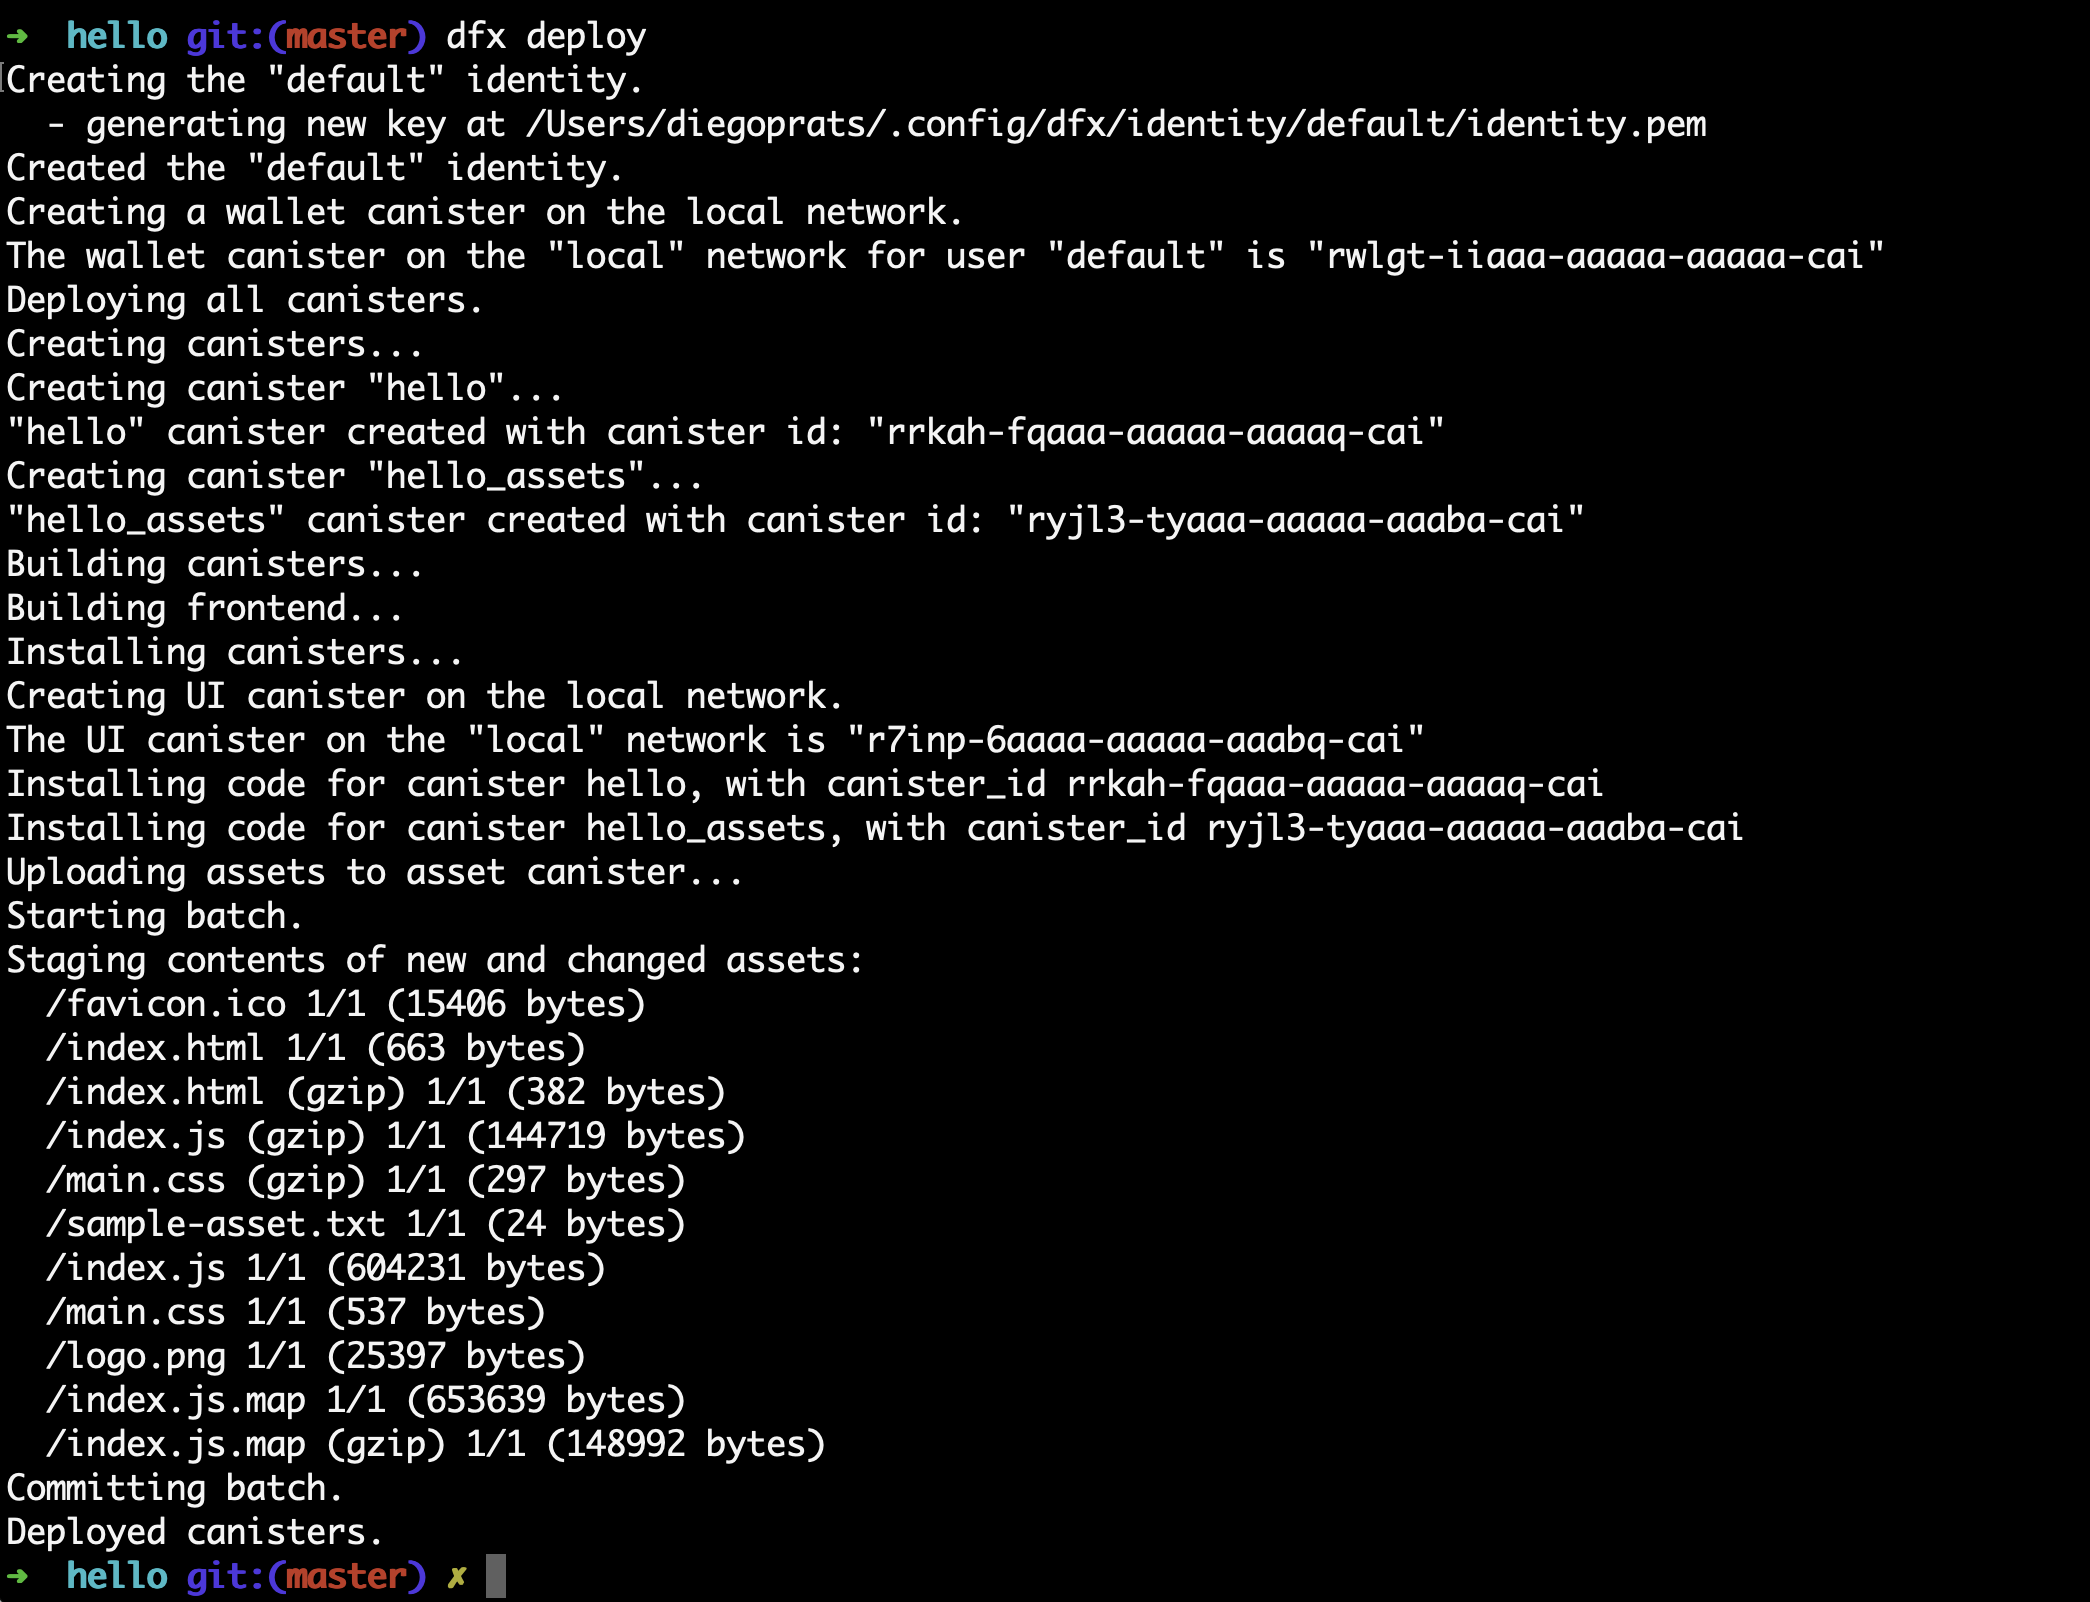
Your dapp is now composed of two canisters as you can see in the copy below (from terminal B):
Installing code for canister hello_backend, with canister_id rrkah-fqaaa-aaaaa-aaaaq-cai
Installing code for canister hello_frontend, with canister_id ryjl3-tyaaa-aaaaa-aaaba-cai
hello_backendcanisterrrkah-fqaaa-aaaaa-aaaaq-caiwhich contains the backend logic.hello_frontendcanisteryjl3-tyaaa-aaaaa-aaaba-caiwhich contains the frontend assets (e.g. HTML, JS, CSS).
Test the dapp locally via the command line
Now that the canister is deployed to the local execution environment, you can interact with the canister by sending and receiving messages. Since the canister has a method called greet (which accepts a string as a parameter), we will send it a message. In terminal B, run
dfx canister call hello_backend greet everyone
- The
dfx canister callcommand requires you to specify a canister name and function to call. hello_backendspecifies the name of the canister you call.greetspecifies the function name.everyoneis the argument that you pass to thegreetfunction.
Test the dapp locally via the browser
Now that you have verified that your dapp has been deployed and tested its operation using the command line, let’s verify that you can access the frontend using your web browser.
In terminal B, start the development server by running:
npm start
Open a browser and navigate to http://localhost:8080/.
You should see a simple HTML page with a sample asset image file, an input field, and a button.
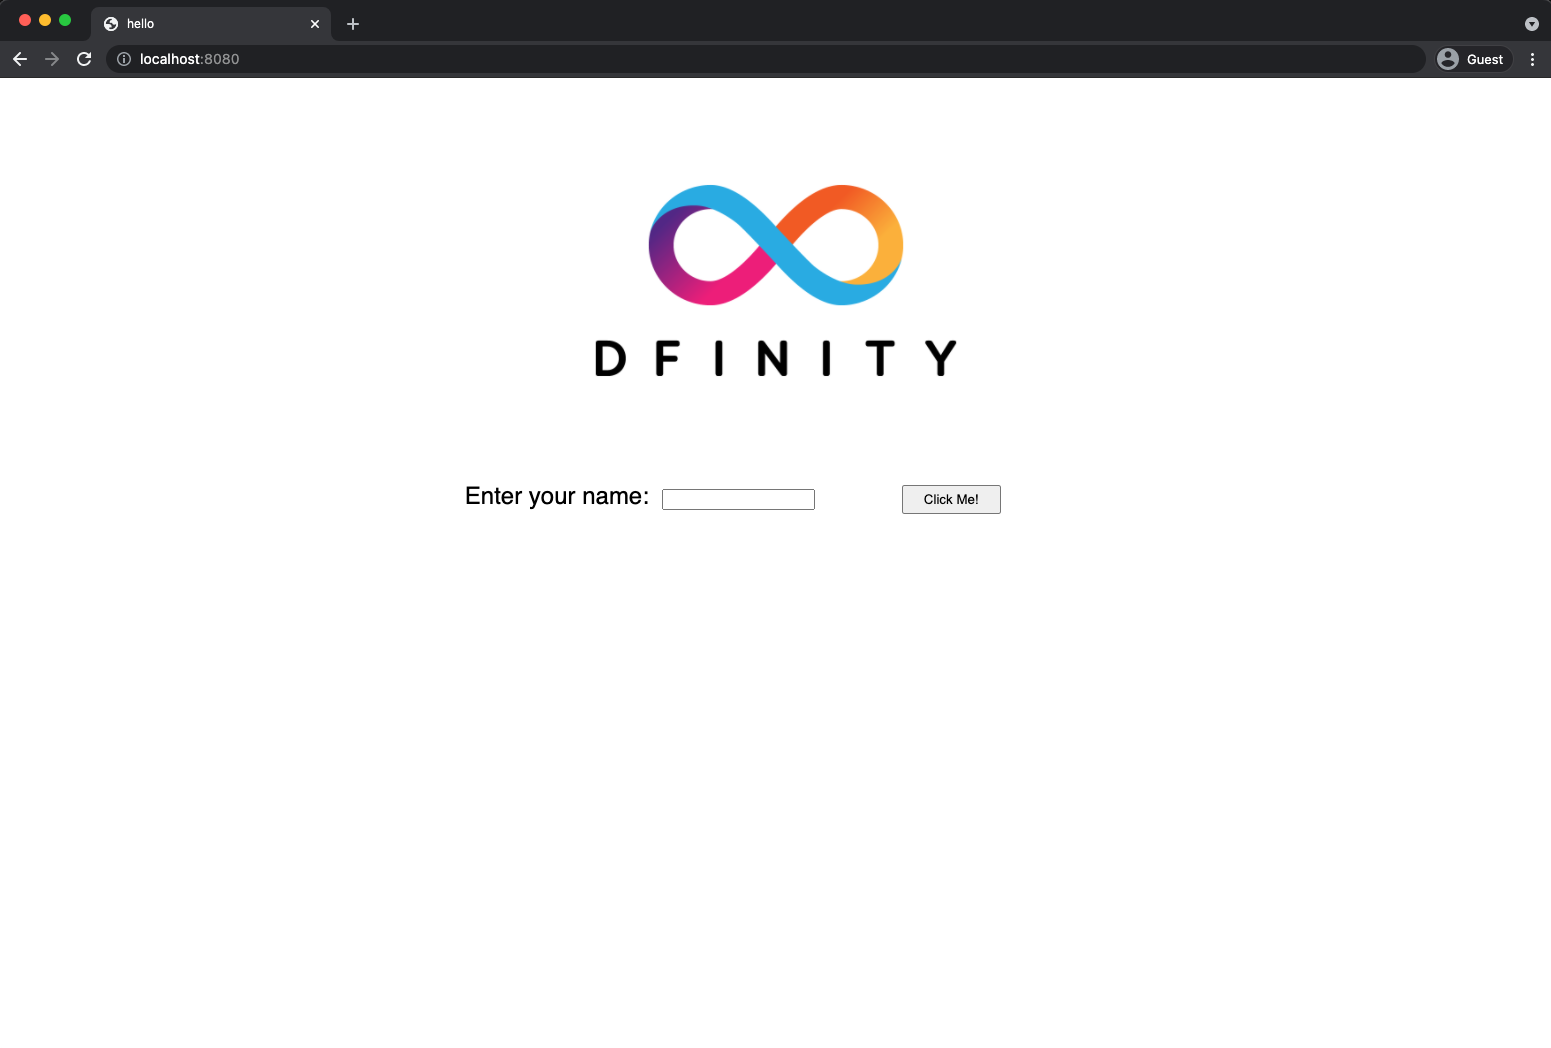
Type a greeting, then click Click Me to return the greeting.

Stop the local canister execution environment
After testing the application in the browser, you can stop the local canister execution environment so that it does not continue running in the background. We will not need it running to deploy on-chain.
To stop the local deployment:
In terminal A, press Control-C to interrupt the local network process.
In terminal B, press Control-C to interrupt the development server process.
Stop the local canister execution environment running on your local computer:
dfx stop
Troubleshooting
Node.js is not properly installed
If your dapp does not show in the browser, it is possible that Node.js is not installed. Confirm it is installed by running:
node --version
Prior installations of dfx
If you have previously created IC dapps before February 2022, you may need to do a clean install. You can delete the SDK and associated profiles and re-install it. Follow the instructions here: Install, upgrade, or remove software.
4. Acquiring cycles to deploy on-chain (5 min)
In order to run on-chain, IC dapps require cycles to pay for computation and storage. This means that the developer needs to acquire cycles and fill their canister with them. Cycles are created from ICP tokens.
This flow may be surprising to people familiar with Web2 software where they can add a credit card to a hosting provider, deploy their apps, and get charged later. In Web3, blockchains require their smart contracts consume something (whether it is Ethereum’s gas or the IC’s cycles). The next steps will likely be familiar to those in crypto or blockchain, who grow used to the first step of deploying a dapp being "go get tokens."
You may further wonder why dapps run on cycles rather than ICP tokens. The reason is that the cost of ICP tokens fluctuate with the crypto market, but cycles are predictable and relatively stable tokens which are pegged to SDR. One trillion cycles will always cost one SDR, regardless of the price of ICP.
Practical notes about cycles:
- There is a free cycles faucet that grants new developers 20 trillion cycles
- It takes 100 billion cycles to deploy a canister, but in order to load up the canister with sufficient cycles,
dfxinjects 3 trillion cycles for any canister created (this is a parameter that can be changed). - You can see a table of compute and storage costs here: Computation and storage costs.
- You can learn more about acquiring and managing ICP in Acquiring and managing ICP tokens.
In this tutorial, we present two ways of acquiring cycles:
- Option 1: Acquiring cycles via the free cycles faucet shows one how to get cycles via the cycles faucet (most common for new developers).
- Option 2: Converting ICP tokens into cycles shows one how to get cycles via ICP tokens (most common for developers who want more cycles).
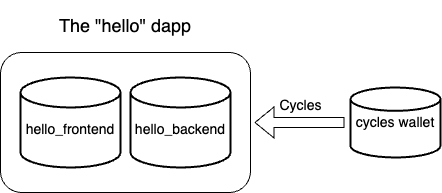
By the end of this section, you will now have three canisters:
hello_backendcanister (not yet deployed to the IC)hello_frontendcanister in your project (not yet deployed to the IC)- Your cycles wallet canister that holds your cycles (deployed on the IC)
As a sanity check, it is good practice to check if your connection to the IC is stable by verifying the current status of the Internet Computer blockchain and your ability to connect to it:
dfx ping ic
If successful you will see an output resembling the following:
$ {
  "ic_api_version": "0.18.0"  "impl_hash": "d639545e0f38e075ad240fd4ec45d4eeeb11e1f67a52cdd449cd664d825e7fec"  "impl_version": "8dc1a28b4fb9605558c03121811c9af9701a6142"  "replica_health_status": "healthy"  "root_key": [48, 129, 130, 48, 29, 6, 13, 43, 6, 1, 4, 1, 130, 220, 124, 5, 3, 1, 2, 1, 6, 12, 43, 6, 1, 4, 1, 130, 220, 124, 5, 3, 2, 1, 3, 97, 0, 129, 76, 14, 110, 199, 31, 171, 88, 59, 8, 189, 129, 55, 60, 37, 92, 60, 55, 27, 46, 132, 134, 60, 152, 164, 241, 224, 139, 116, 35, 93, 20, 251, 93, 156, 12, 213, 70, 217, 104, 95, 145, 58, 12, 11, 44, 197, 52, 21, 131, 191, 75, 67, 146, 228, 103, 219, 150, 214, 91, 155, 180, 203, 113, 113, 18, 248, 71, 46, 13, 90, 77, 20, 80, 95, 253, 116, 132, 176, 18, 145, 9, 28, 95, 135, 185, 136, 131, 70, 63, 152, 9, 26, 11, 170, 174]
}
Option 1: Acquiring cycles via the free cycles faucet (2 min)
This option is best for people who want minimal time investment and have never used cycles faucet (faucet can be used only once).
For the purposes of this tutorial, you can acquire free cycles for your Hello dapp from the cycles faucet. Follow the instructions here: Claim your free cycles.
Check your cycles balance
Now that you have used the cycles faucet, in terminal B you can check your cycles balance:
dfx wallet --network ic balance
You should see around 20 trillion cycles if you run this after using the cycles wallet. If so, skip to section 5. Deploying on-chain.
If you do not see any cycles, deploying on-chain in the rest of the tutorial will not work. You should try Option 2: Converting ICP token into cycles.
Option 2: Converting ICP tokens into cycles (5 min)
This option is best for people who have already exhausted the cycles wallet or who want to set up their environment to add more cycles in the future.
To convert ICP tokens into cycles, you first need to obtain some ICP and transfer to the right account. You can get ICP tokens on exchanges, or ask someone you know to send you some. To figure out which account to transfer the ICP tokens to, run the following:
dfx ledger account-id
This will display your account number on the ICP ledger. It looks similar to this:
e213184a548871a47fb526f3cba24e2ee2fbbc8129c4ab497ef2ce535130a0a4
Once you have transferred some ICP tokens into this account (5-10$ worth should be plenty to get going), you can see the balance using this command:
dfx ledger --network ic balance
This will output something like this:
12.49840000 ICP
With those ICP tokens ready, you can start creating your cycles wallet. To start, you have to create a canister which will become your wallet. The base command for this is as follows:
dfx ledger --network ic create-canister <your-principal-identifier> --amount <icp-tokens>
The two values you have to substitute are your own principal and the amount of tokens you want to convert. To figure out your own principal, use the output of dfx identity get-principal. If my principal is tsqwz-udeik-5migd-ehrev-pvoqv-szx2g-akh5s-fkyqc-zy6q7-snav6-uqe and I want to convert 2.3 ICP into cycles, the command looks like this:
dfx ledger --network ic create-canister tsqwz-udeik-5migd-ehrev-pvoqv-szx2g-akh5s-fkyqc-zy6q7-snav6-uqe --amount 2.3
This command will take some time and output something similar to the following:
Transfer sent at BlockHeight: 351220
Canister created with id: "gastn-uqaaa-aaaae-aaafq-cai"
The id in this output is the address of the canister where your wallet will live. In this example, it would be gastn-uqaaa-aaaae-aaafq-cai.
Now that the canister is created, you can install the wallet code using this command:
dfx identity --network ic deploy-wallet <canister-identifer>
Here, you have to substitute the canister identifier using the id you received in the output of the previous command. So, in the example this would look like this:
dfx identity --network ic deploy-wallet gastn-uqaaa-aaaae-aaafq-cai
And the output should look like this:
Creating a wallet canister on the IC network.
The wallet canister on the "ic" network for user "default" is "gastn-uqaaa-aaaae-aaafq-cai"
Now your wallet should be configured and ready to go. To check if everything went right, run this to see the identifier of your configured wallet:
dfx identity --network ic get-wallet
This should print the canister id you used in the commands earlier.
You can also check the balance of your new cycles wallet:
dfx wallet --network ic balance
This should print something looking like this:
6.951 TC (trillion cycles).
5. Deploy on-chain (1 min)
Now that you have your cycles and your dfx is configured to transfer cycles, you are now ready to deploy your hello dapp on-chain. In terminal B, run:
npm install
dfx deploy --network ic --with-cycles 1000000000000
The --network option specifies the network alias or URL for deploying the dapp. This option is required to install on the Internet Computer blockchain mainnet. --with-cycles explicitly tells dfx how many cycles to use, otherwise it will use the default of 3 trillion.
If successful, your terminal should look like this:
Deploying all canisters.
Creating canisters...
Creating canister "hello_backend"...
"hello_backend" canister created on network "ic" with canister id: "5o6tz-saaaa-aaaaa-qaacq-cai"
Creating canister "hello_frontend"...
"hello_frontend" canister created on network "ic" with canister id: "5h5yf-eiaaa-aaaaa-qaada-cai"
Building canisters...
Building frontend...
Installing canisters...
Installing code for canister hello_backend, with canister_id 5o6tz-saaaa-aaaaa-qaacq-cai
Installing code for canister hello_frontend, with canister_id 5h5yf-eiaaa-aaaaa-qaada-cai
Authorizing our identity (default) to the asset canister...
Uploading assets to asset canister...
  /index.html 1/1 (472 bytes)
  /index.html (gzip) 1/1 (314 bytes)
  /index.js 1/1 (260215 bytes)
  /index.js (gzip) 1/1 (87776 bytes)
  /main.css 1/1 (484 bytes)
  /main.css (gzip) 1/1 (263 bytes)
  /sample-asset.txt 1/1 (24 bytes)
  /logo.png 1/1 (25397 bytes)
  /index.js.map 1/1 (842511 bytes)
  /index.js.map (gzip) 1/1 (228404 bytes)
  /index.js.LICENSE.txt 1/1 (499 bytes)
  /index.js.LICENSE.txt (gzip) 1/1 (285 bytes)
Deployed canisters.
URLs:
  Frontend:
    hello_frontend: https://5h5yf-eiaaa-aaaaa-qaada-cai.icp0.io/
  Candid:
    hello_backend: https://a4gq6-oaaaa-aaaab-qaa4q-cai.raw.icp0.io/?id=5o6tz-saaaa-aaaaa-qaacq-cai
Note the bottom of the message which returns the URL where you can see your canister’s frontend deployed on-chain: https://5h5yf-eiaaa-aaaaa-qaada-cai.icp0.io/
In the example above, we created a hello dapp that is composed of:
hello_backendcanister5o6tz-saaaa-aaaaa-qaacq-caiwhich contains the backend logic.hello_frontendcanister5h5yf-eiaaa-aaaaa-qaada-caiwhich contains the frontend assets (e.g. HTML, JS, CSS).
See your dapp live on-chain via a browser
Navigate to and enter a name: https://5h5yf-eiaaa-aaaaa-qaada-cai.icp0.io/
Before your dapp loads, your browser will quickly show a message that reads: Installing "Internet Computer Validating Service Worker". This service worker comes from the IC and it is used to make sure the web app the user sees is the correct, untampered frontend. Once loaded, your browser will cache the service worker and your web app will load much quicker.

After loading the service worker, your dapp will load:

Testing the on-chain dapp via the command line
Since the canister has a method called greet (which accepts a string as a parameter), we can send it a message via dfx.
dfx canister --network ic call hello_backend greet '("everyone": text)'
Note the way the message is constructed:
dfx canister --network ic callis the setup for calling a canister on the IC.hello_backend greetmeans we are sending a message to a canister namedhello_backendand evoking itsgreetmethod.dfxknows whichhello_backendcanister (out of the many in the IC), one refers to because a mapping ofhello_backendto a canister id is stored locally in.dfx/local/canister_ids.json.'("everyone": text)'is the parameter we are sending togreet(which acceptsTextas its only input).
Troubleshooting
403 Error
If you receive a 403 error, it is possible the identity you are using does not have enough cycles. You should try the following to debug:
1. Confirm you are using the identity you assume are using
dfx identity whoami
2. Confirm the identity you are using has enough cycles on-chain
dfx wallet --network ic balance
3. Try proxying through your wallet
Sometimes (especially when you created the canisters with dfx versions before 0.9.0) your wallet is set as your canister’s controller. To have your wallet be the source of the deployment instruction, add the flag --wallet <insert-your-wallet-id-here> to the deploy or call command.
If this works and you would like to add your own principal as a controller of the canister (so you don’t have to use the --wallet option anymore), you can run this:
dfx canister --wallet "$(dfx identity get-wallet)" update-settings --all --add-controller "$(dfx identity get-principal)"
Wrap-up
Congratulations! You have built a dapp fully on-chain (both backend and frontend) within 10 minutes.
Tutorial takeaways:
- Dapps can be composed of multiple canisters
- Dapps can be deployed locally and on-chain
- Cycles are needed power dapps
- Get free cycles from the cycles wallet
- Free cycles can be used to power additional dapps
Starting from scratch
If you wish to start from scratch, delete the SDK and associated profiles and re-install it. Follow the instructions here: Install, upgrade, or remove software.
Be sure to save any identities linked to dapps or ICP.
Getting Stuck?
If you get stuck or run into problems search for solutions or post questions in the Developer forum or DISCORD.
Ready for the next challenge?
Build DAOs, NFTs and more here.
Want to learn more?
If you are looking for more information before getting started or want to view a demonstration of how to deploy before you try it for yourself, check out the following related resources: